Lift Case Study
Case Study
Buckle up as we chat with Andy Walker, Image Engine Visual Effects Supervisor on Netflix's Lift. Discover the intricacies of designing a custom high-tech jet, authentic F-35B Lightning fighter jets, and bringing the Swiss Alps to life across 342 shots.
View portfolio page Watch our breakdown reelIn F. Gary Gray’s latest cinematic film, a crew of skilled criminals, led by the charismatic Cyrus Whitaker (portrayed by Kevin Hart), takes center stage in a daring mission. Their objective: prevent a terrorist attack by executing a mid-flight heist of $500 million in gold on a plane cruising at 40,000 feet.
Buckle up as we chat with Andy Walker, our Image Engine visual effect supervisor on Netflix’s Lift to unravel the visual effects intricacies behind the creation of a high-tech private jet, fighter jets, Swiss Alps, face replacements, and more in this high-stakes heist thriller.
Can you describe the jet design process?
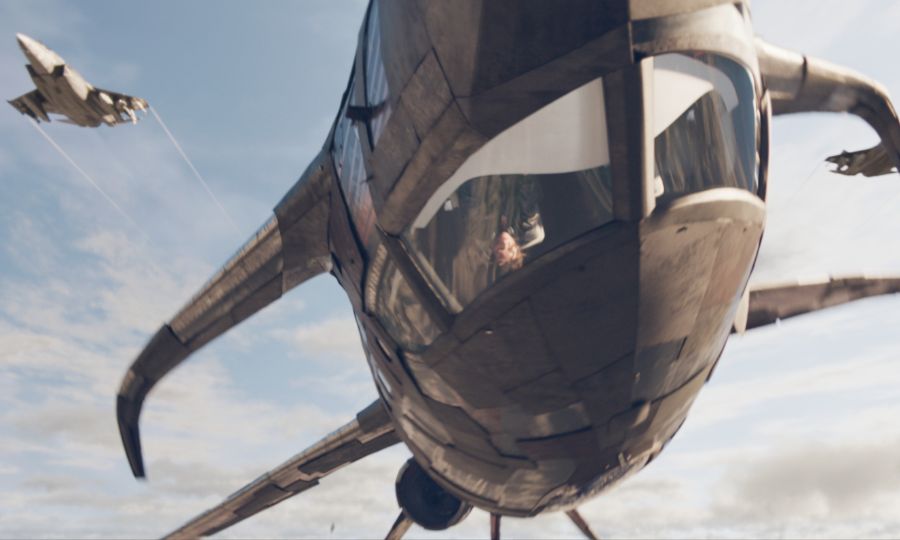
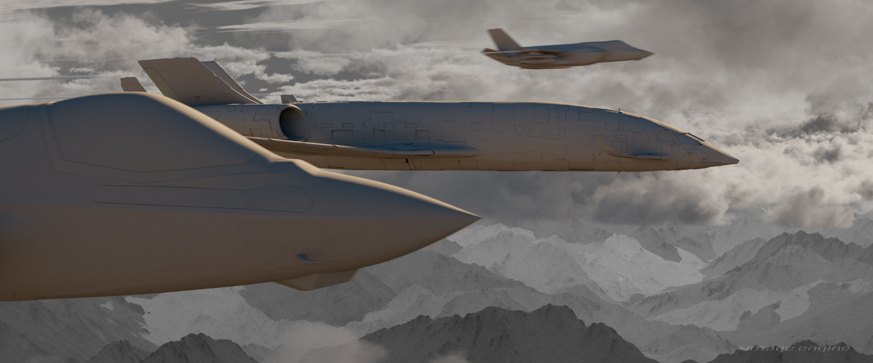
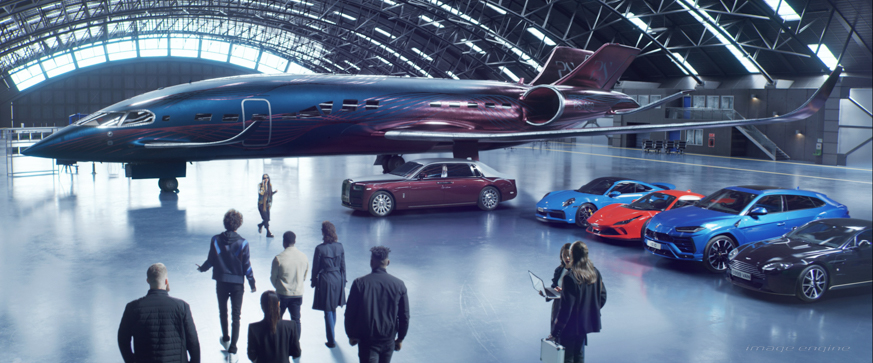
Andy: Central to the movie is a custom-built high-tech jet commandeered for use in a hijacking. It needed to be covered in handmade stealth panelling for radar invisibility.
For Image Engine, we picked up the work part way through the design process of the jet. The interior was already designed and being built on set, with the cockpit, lounge interior and windows already laid out. The next step was to design the exterior to match the tasteless opulence of a tech billionaire.
We worked over the interior design in 3D and held interactive sessions with the Director, F Gary Gray, modifying and moving around a kit of parts in Maya and then going away and refining. A sleek metallic two-tone finish with tech-influenced patterns finished off the look.

With the jet design approved, we moved on to the handcrafted stealth panelling. A first pass was created in 3D, seeing how it might look adding a layer of panels over the surface, would it even look like it could fly? We then moved back into 2D concepts, painting over more detailing and paint options, from classic black stealth panelling to the approved “junkyard dog” look, which related more to the airplane graveyard where the materials were salvaged from.
What direction did you receive from the client, and what references did you use?
Andy: Based on the character of a tech billionaire who owns the plane, the client aimed for an expensive yet tasteless aesthetic, providing references of luxury cars and jets, along with unbuilt concept designs. The challenge was to infuse NASA-level technology, a skylight, and a giant LED screen on the jet’s underside.
What details did you add?
Andy: The final design had curved wing motifs, involving small Canards at the front, sweeping main wings and horizontal stabilizers. Dual rear vertical stabilizers and integrated engines finished off the sleek look. There was also an extensive use of chrome trims.
What challenges did you face?
Andy: We were working on the design while the movie was already well into production, so we ran lo-fi postvis versions of the jet in parallel with creating the final designs. This allowed the team to edit and postvis could be worked on with placeholders. It was important the dimensions were locked as there were complex camera moves on set that needed to fit based on a set of measurements for the wings and fuselage.

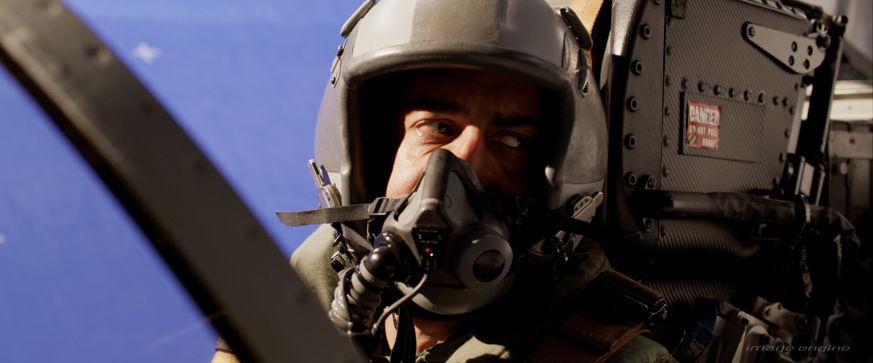
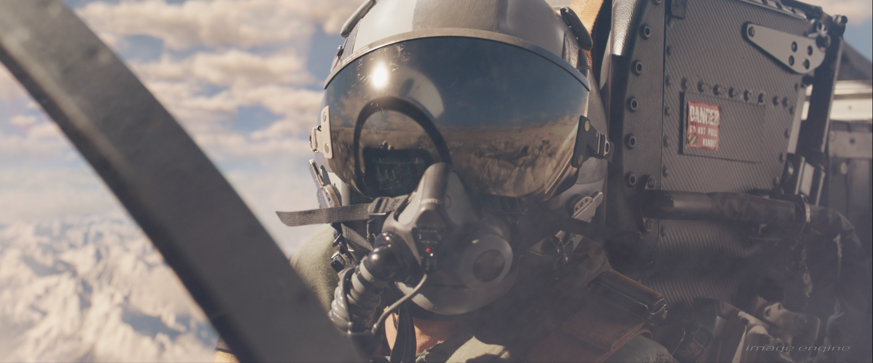
Can you share details on the asset creation of the fighter jets?
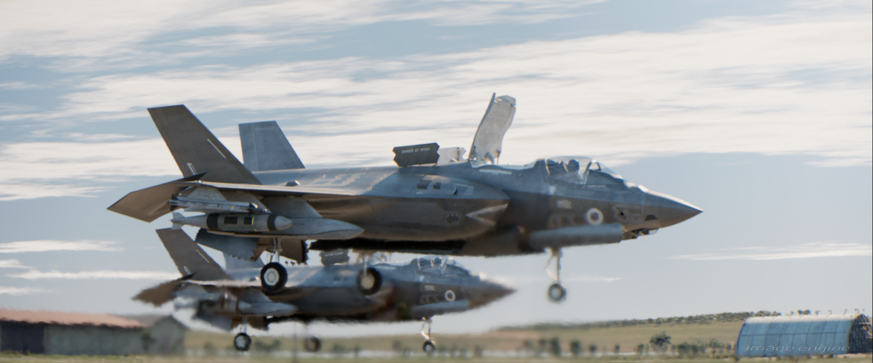
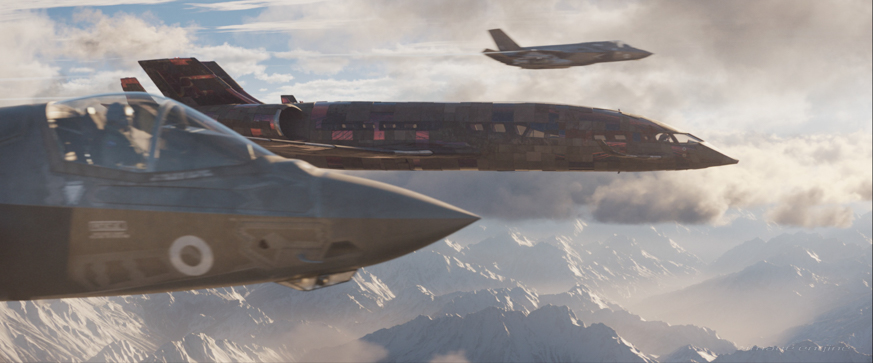
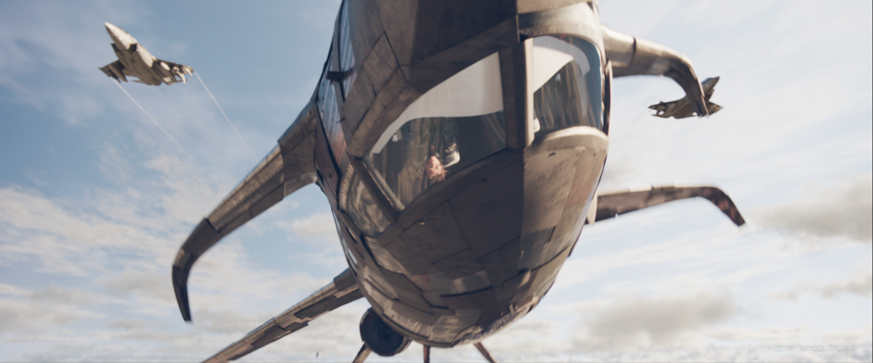
Andy: During the movie, the private jet is intercepted by NATO. Image Engine created two F-35B Lightning fighter jets for the sequence and an AS365 DAUPHIN helicopter.
The fighter jets are authentic F-35B Lightning jets, which NATO operates in Europe. The vertical take-off model was chosen for a more interesting opening to the intercept sequence. These were hand-crafted by our asset team with afterburners, sonic booms and vapour trails added by our FX team. The pilots also needed to be CG in some shots and were created by hand-matching on set photography.
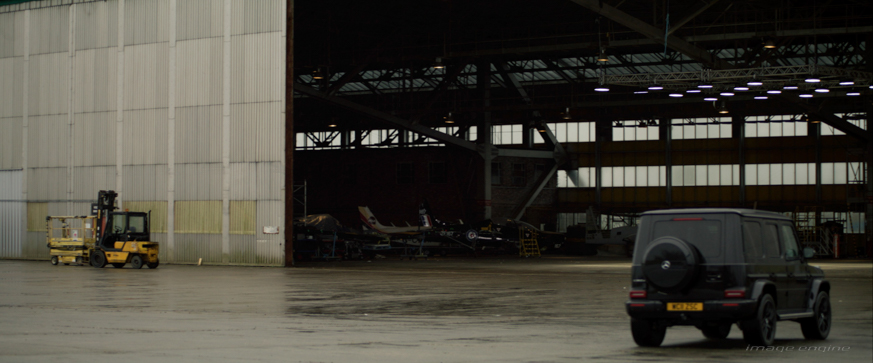
For other sequences, our team also created a vast graveyard of broken aircrafts outside the stealth build hangar.

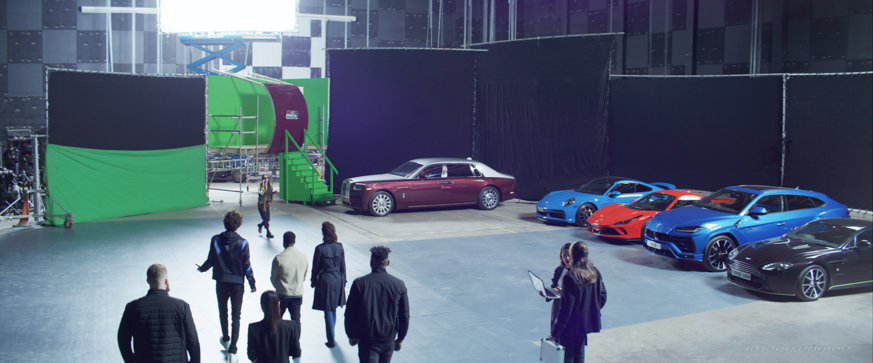
Can you detail the creation of the hangar environment?
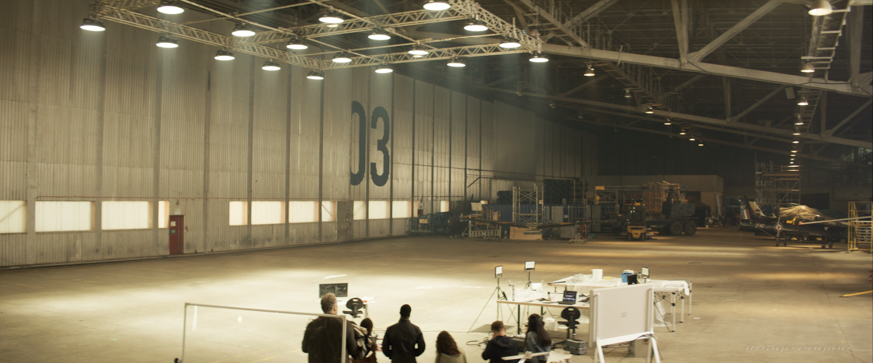
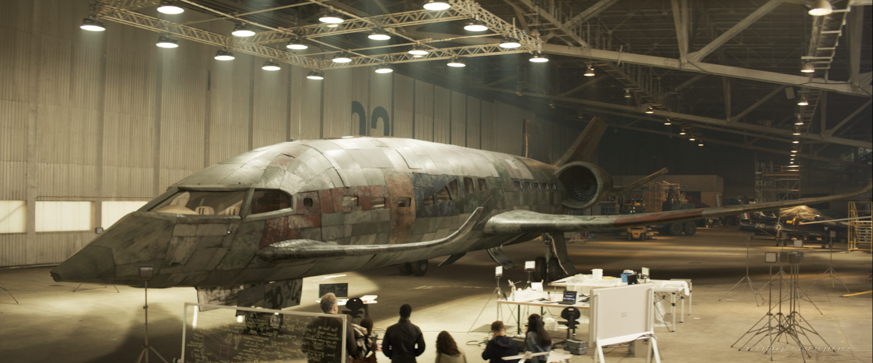
Andy: Image Engine was tasked with creating two hangars for Lift. The first introduced the Private Jet, owned by a multi-billionaire tech jock. We wanted it to look cutting edge, clean and modern, but still utilitarian. It was half showroom, half hangar. We used various architectural references from gallery spaces to regular hangars. It was designed in 3D to work with the angles already shot in a studio, making sure it framed the introduction of the jet and created an interesting backdrop for the entire sequence.
The second hangar was used for transforming the Private Jet into the Stealth Jet with flashy modifications. We extended the original hangar containing the workshop based on photography reference, using 2.5D DMP, augmented with 3D aircraft and objects to fill up the space.
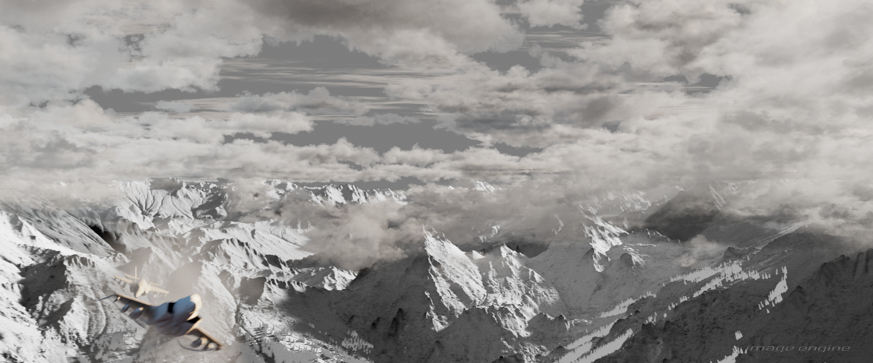
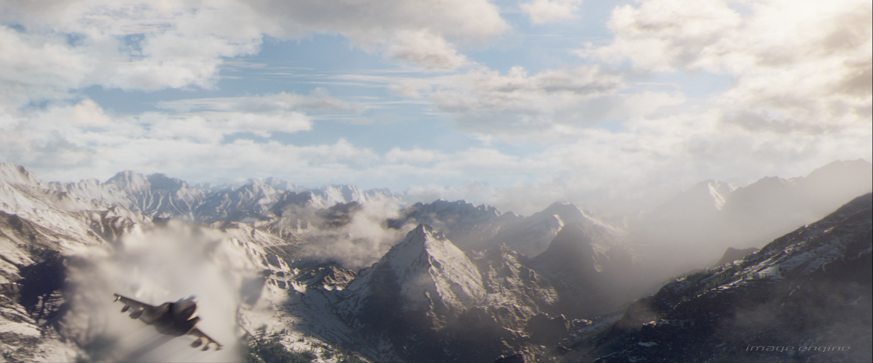
How did you go about creating the mountaintop environment?
Andy: The Swiss Alps, as they were referred to for a long time, actually ended up being the Italian Dolomites, once the flight path for the movie had been mapped out. Map data was referenced and a huge section of the Dolomites was laid out using a kit of mountain and valley pieces conforming to the map data.
The clouds and atmosphere were as important as the mountainscape. 3D clouds were generated based on cloud references selected by the Director. It was important that there was enough sun to match the plate photography of the actors, but with enough cloud to keep the views interesting at cruising height and all the way up to a high altitude that they reach before an extremely long nose-dive.
One of the biggest challenges was continuity. Establishing a geography that made sense across a long sequence, looking good from different heights – valley height, cruising height and extreme altitude. The edit was continually evolving, but we needed a steady elevation gain from the beginning, stealthily skimming the clouds, to an extreme height ready for the nose-dive. This all needed to happen imperceptibly, something you wouldn’t think about, but would notice if suddenly you were at the wrong altitude for the amount of descent that is depicted later. Some may say that continuity is for wimps, but there’s a limit to that…! A great thanks to the layout, animation and lighting teams for keeping consistency throughout a long dynamic sequence.
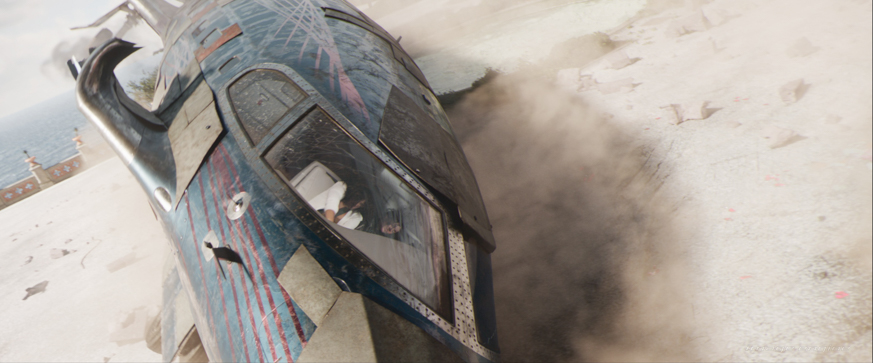
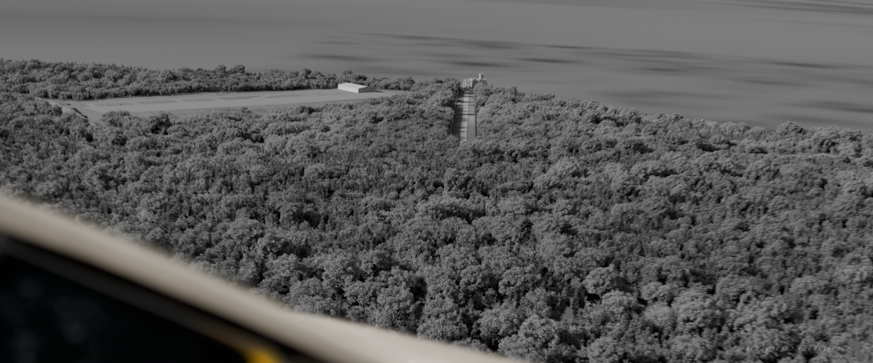
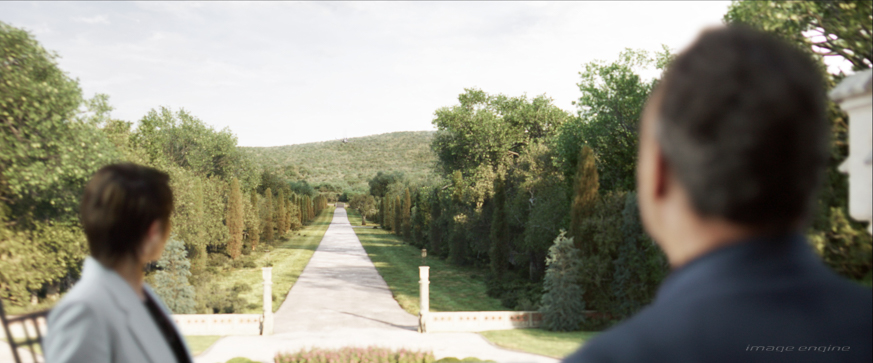
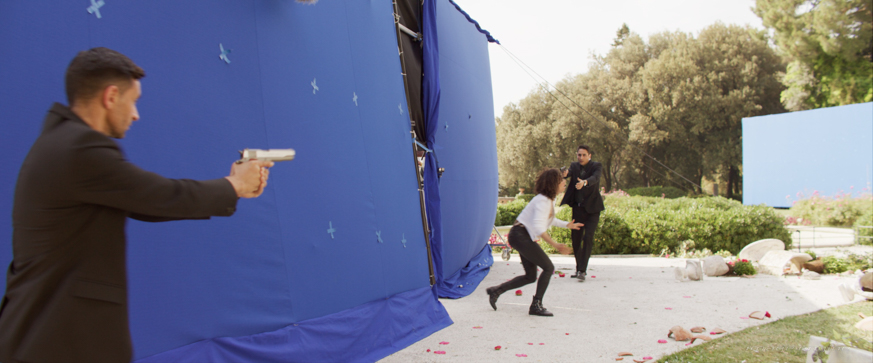
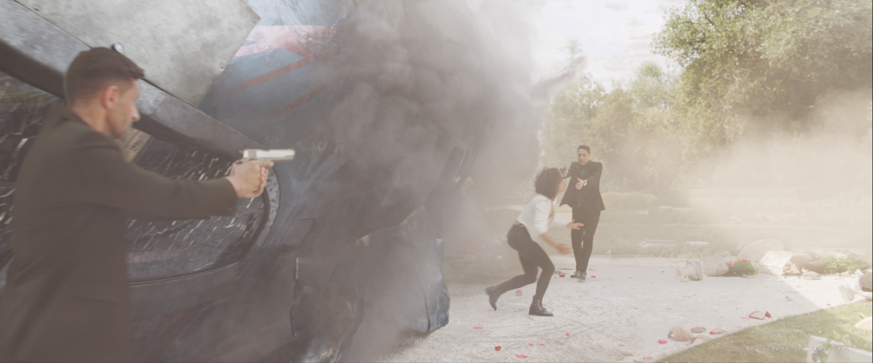
What were the details in creating the Tuscan Villa?
Image Engine also recreated the Tuscan Villa at the end of the movie. The landscape needed to be modified to integrate a large airstrip and a long driveway approaching the villa. The majority of the sequence uses full CG backgrounds, from the approach to the crash, to the reveal and arrest. We had a ton of reference and plate work from ground level to work from, along with drone photo scans of the main building and surrounds. It was a huge build with a large landscape of trees, architectural features, a fountain and an ocean. This build gave the Director the freedom to open up the creative in previs/postvis as we crafted a dynamic crash and post-crash scene.

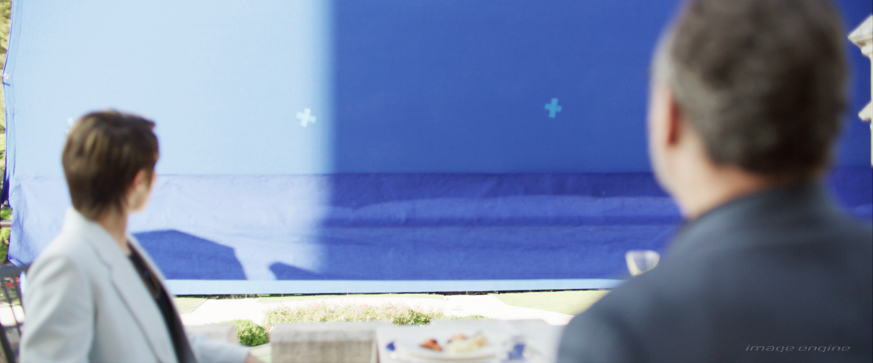
Can you discuss the work that went into the character face replacements?
Digital doubles were required for several scenes; stunt actor head replacements, all CG interior action shots involving Cyrus and Cormac and F35 digital pilots. Clear Angle provided 3D scans for principal cast characters, Cyrus, Abby, Camila, Donal and Roth with the F35 pilots and alternative clothing and hair built by hand, referencing on-set reference photography.
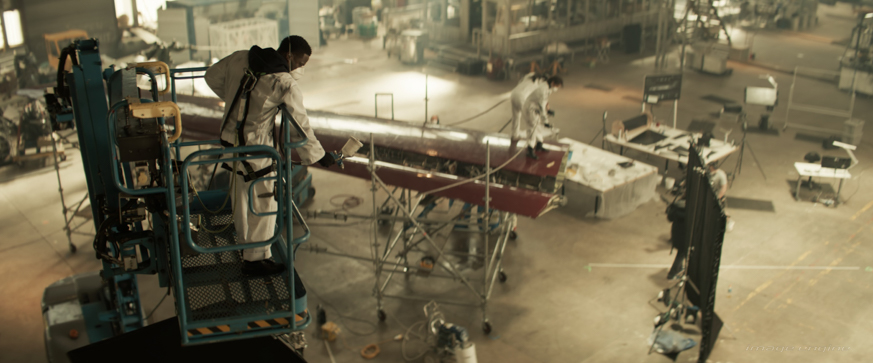
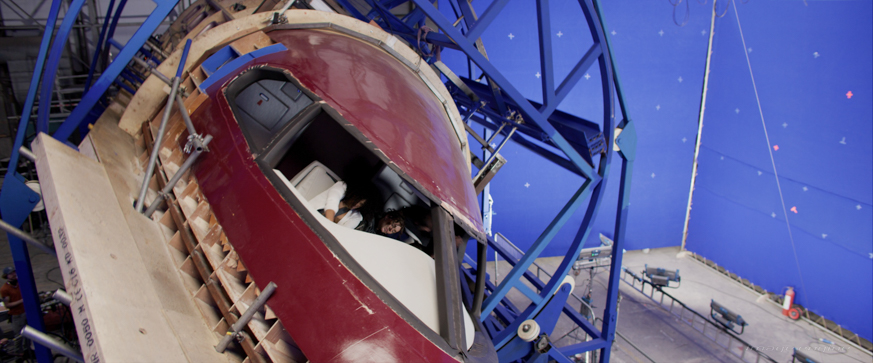
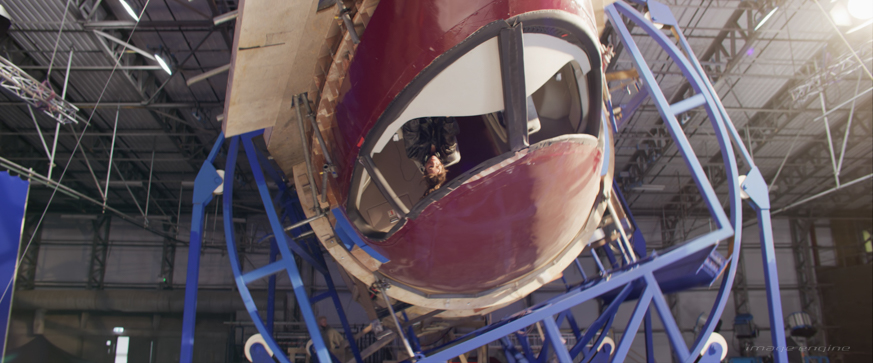
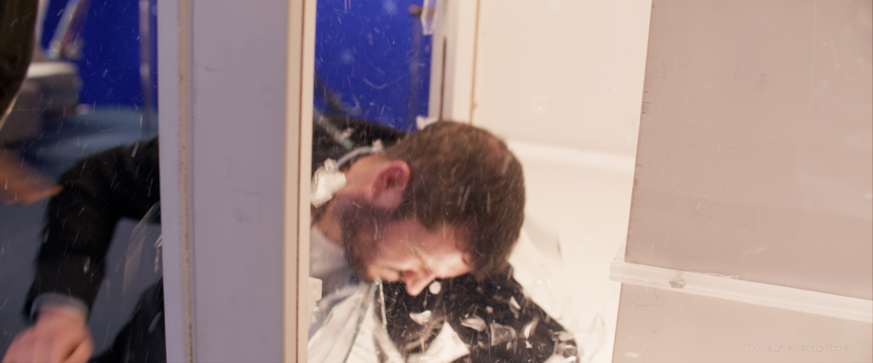
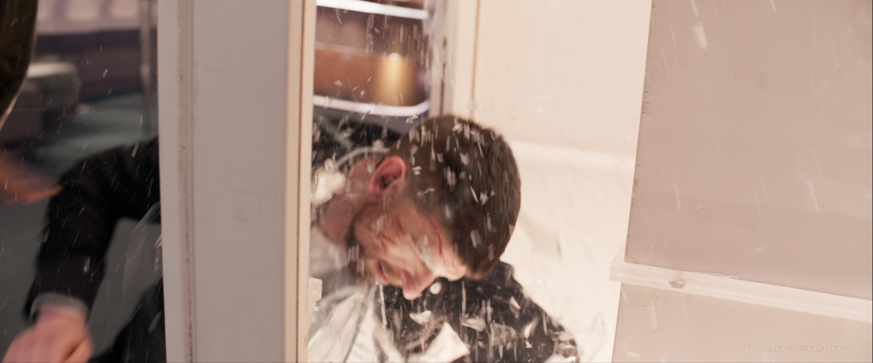
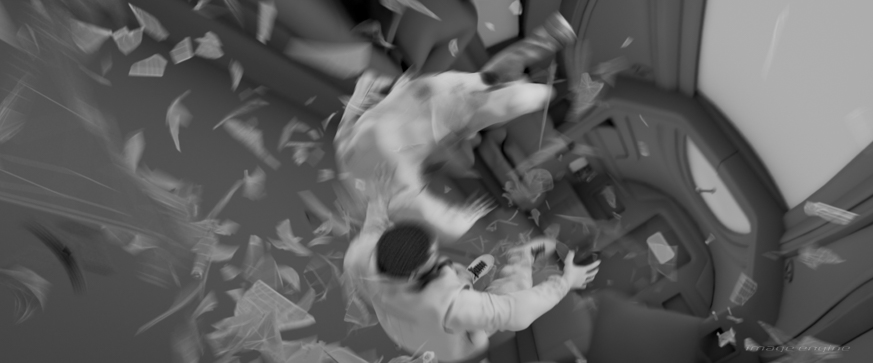
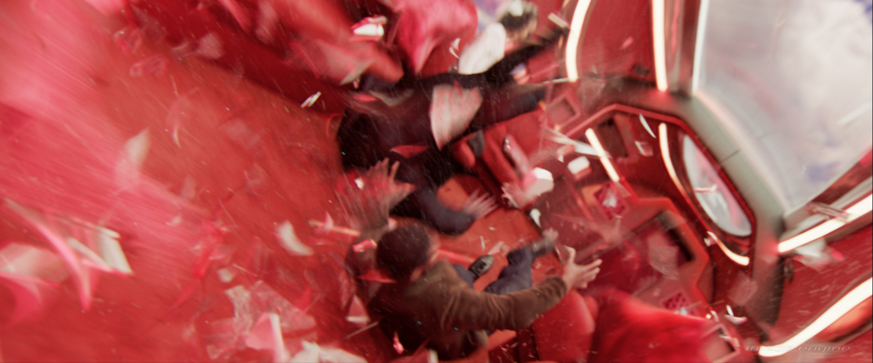
Stunt actors’ heads were replaced in several fight scenes, especially the scenes using a revolving jet interior. Image Engine matchmoved the stunt actors and fully replaced the head and face with a 3D hand-animated version. We used the stunt actors’ general performance as a guide, combined with reference to the principal characters. There are two fully CG shots towards the end of the fight where full digital versions of Cormac and Cyrus wrestle in mid-air whilst smashing through a glass shower cubicle, which required extensive cloth and FX destruction work.
Face replacements are a unique challenge due to the sensitivity of general human perception for recognizing people. You can have the same CG head in different contexts and camera angles, but it is the lighting and performance that will drastically alter the perception of whether they are that actor. With rotating sets and actors shot from every possible angle holding extreme expressions, it isn’t a case of: “This should look exactly like this specific reference,” each shot posed a unique challenge. Often a stunt actor’s hairline, hair volume and neck thickness needed to be altered or fully replaced to fit with the face. There was no motion capture involved, just good use of rotoscope and reference of the performances with layers of animation and simulation to achieve the finished result.
Is there anything else you would like to mention not referenced above?
Andy: Lift was a really exciting project to be a part of. Once we had the core pieces to create fully CG shots ready to go, it opened up a creative playing field for the Director and Image Engine to craft the sequences to make the action as dynamic as possible. We were very happy to take on bigger and bigger challenges.
And that’s a wrap on our interview with Andy Walker, Image Engine’s VFX Supervisor, on our high-flying adventure into the making of Lift! From the design of the stealth jet, fighter jets, unique environments, and face swaps – every element contributed to the excitement.
As we soar off into the sunset with this project, we’d like to extend a big congratulations to the Image Engine crew and everyone else who worked on this film for their incredible work in making this film come to life.